First of all, I bought some 1/4" and 3/4" taps. I use them throughout the project and they pay for themselves by not needing to buy bulkhead fittings! They work great in ABS or PVC!
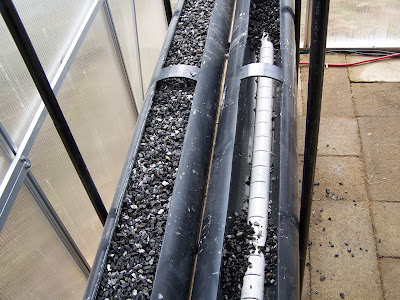
I cut each pipe into 5' sections, and then cut out 2 slots in the top about 4" wide for the plants. I then drilled and tapped a 3/4" fitting in the bottom for filling/draining. Once I put in the barbed fitting, I cut off the top on the inside to "maximize" the drainage. Plus, if there is any debris, it will get sucked out though this area.
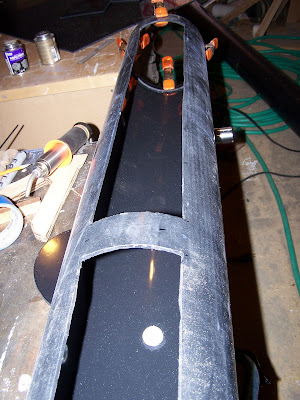 |
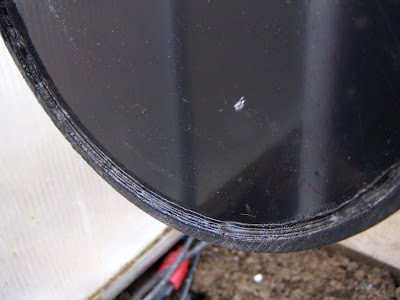
In the background, you can see I cemeted and a ring around the inside of the pipe. This will act as a shelf to help support the end cap that I welded into place. This is the first time I've done plastic welding....LOVE IT!
 |
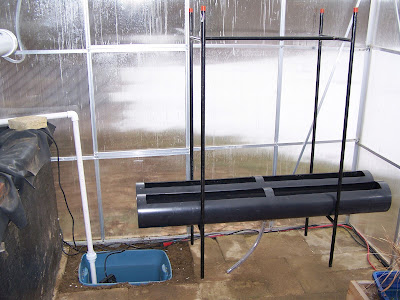
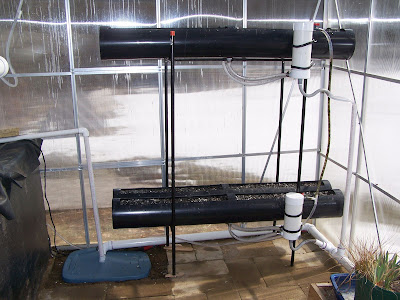
I had a bunch of 1/2" black pipe so I welded a rack together and also dug a hole in the floor of my greenhouse for a sump. It was heartbreaking to dig out the floor in my nice little greenhouse. I'm sure I'll get over it once I see all these yummy veggies The sump pumps the water back into the 650 gallon tank.
 |
I split a piece of 2" pipe and half and laid it in the bottom of each tray. This keeps the rocks out of the drain pipe....but I'm still concerned about the roots getting in there and I don't have a good way to clean them out...
 |
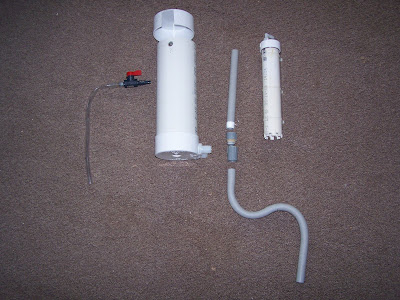
I wanted to have an external bell siphon. I don't have a lot space of play with the water/gravel height in these trays, so by having the external siphon, I can fine-tune the height of the entire siphon. I'm really glad I did this now....It's has been working perfectly and I can make really fine adjustments to it without having to dismantle it.
Here area all the parts to it. Just a couple of odd things about it: A) I tapped two 3/4" fittings in the bottom-side. At first I tried to use just one fitting, but the 1/2" stand-pipe can suck the water out faster than a single tray can drain into the siphon chamber. B) I have a homemade bulkhead fitting in the bottom...I didn't have an o-rink or rubber laying around for the seal, but a dab of plummer's putty worked really well! C) The ball valve is for the water supply and the little tube is used to direct the water down into the chamber....I had a little spray problem and it would shoot out the top of the chamber! As a bonus, since I just sort of stuck the tube on the threads, while it's filling, it sucks air in through it and it act like a little bubbler.
 |
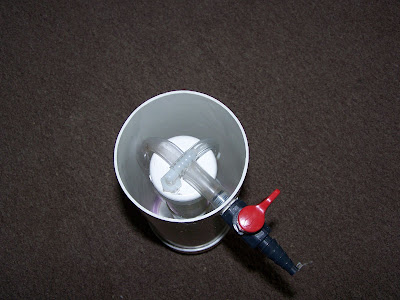
Here it is all assembled. Just by dumb luck, I was able to sneak the supply tube under the vacuum break tube. It holds it all together nicely and helps to keep the bell from moving around.
 |
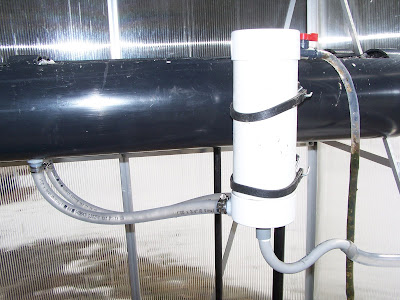
Here it is with It's lid on and the 2 fill lines in the bottom-side.
 |
Here's a couple of shots of the entire setup in operation!
 |
| From Aquaponics |
 |
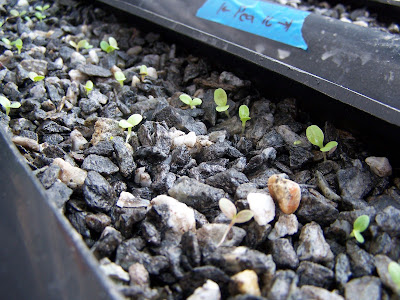
Last week I planted lettuce, broccoli, peas, radish, beets, peppers, carrots and green beans. The peppers I planted indoors about a month ago. Everything else has sprouted. It will be interesting to see what the carrots, radish, and beets do in this sharp gravel.
 |
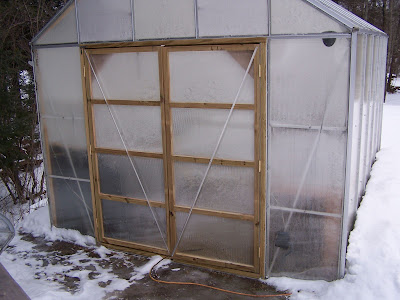
The ground is still frozen outside (you can see the snow in the background). Even though this setup much smaller than my outdoor garden, I usually don't get to start planting until the first weekend in May! A 2 month head start rocks! The mass of the floor and tank can keep the night temps in the greenhouse about 12 degrees F warmer at night...just enough to keep everything safe!
I hope you all enjoy my setup...I have more expansions I'm working on......